Showing posts with label Amazing Appetizers. Show all posts

Thursday, April 18, 2013

Crispy Chicken Wings


Crispy, tangy, saucy chicken wings are a classic.  One problem - they pack a huge calorie punch.  Traditionally, wings are deep-fried, rolled in butter, then slathered in sauce ... but you can get just as much flavour by ditching the deep fryer and using your BBQ!

This idea is not my own.  Our good friend, Jeff, showed us this trick a couple years ago and we have never looked back.  The wings are every bit as crispy, and even though they are still high in calories, by using the BBQ you can slash the calories in half.  That's huge!!

INGREDIENTS
chicken wings (any amount)
salt and pepper to taste
oil for the BBQ
Frank's Red Hot Buffalo Wing Sauce (the best ... and gluten-free!)

Salt and pepper chicken wings.  Let sit for at least an hour.


Clean BBQ with a scraper.  Using a folded paper towel, oil the grates.


Preheat the BBQ then add the chicken wings, skin side down.


DO NOT LEAVE YOUR BBQ!  Because the chicken wings are higher in fat, they need turned more often and left unattended could cause a flare up ... so be careful.


BBQ until cooked through.  This usually takes about 20-30 minutes ... sometimes longer depending on the size of your wings.


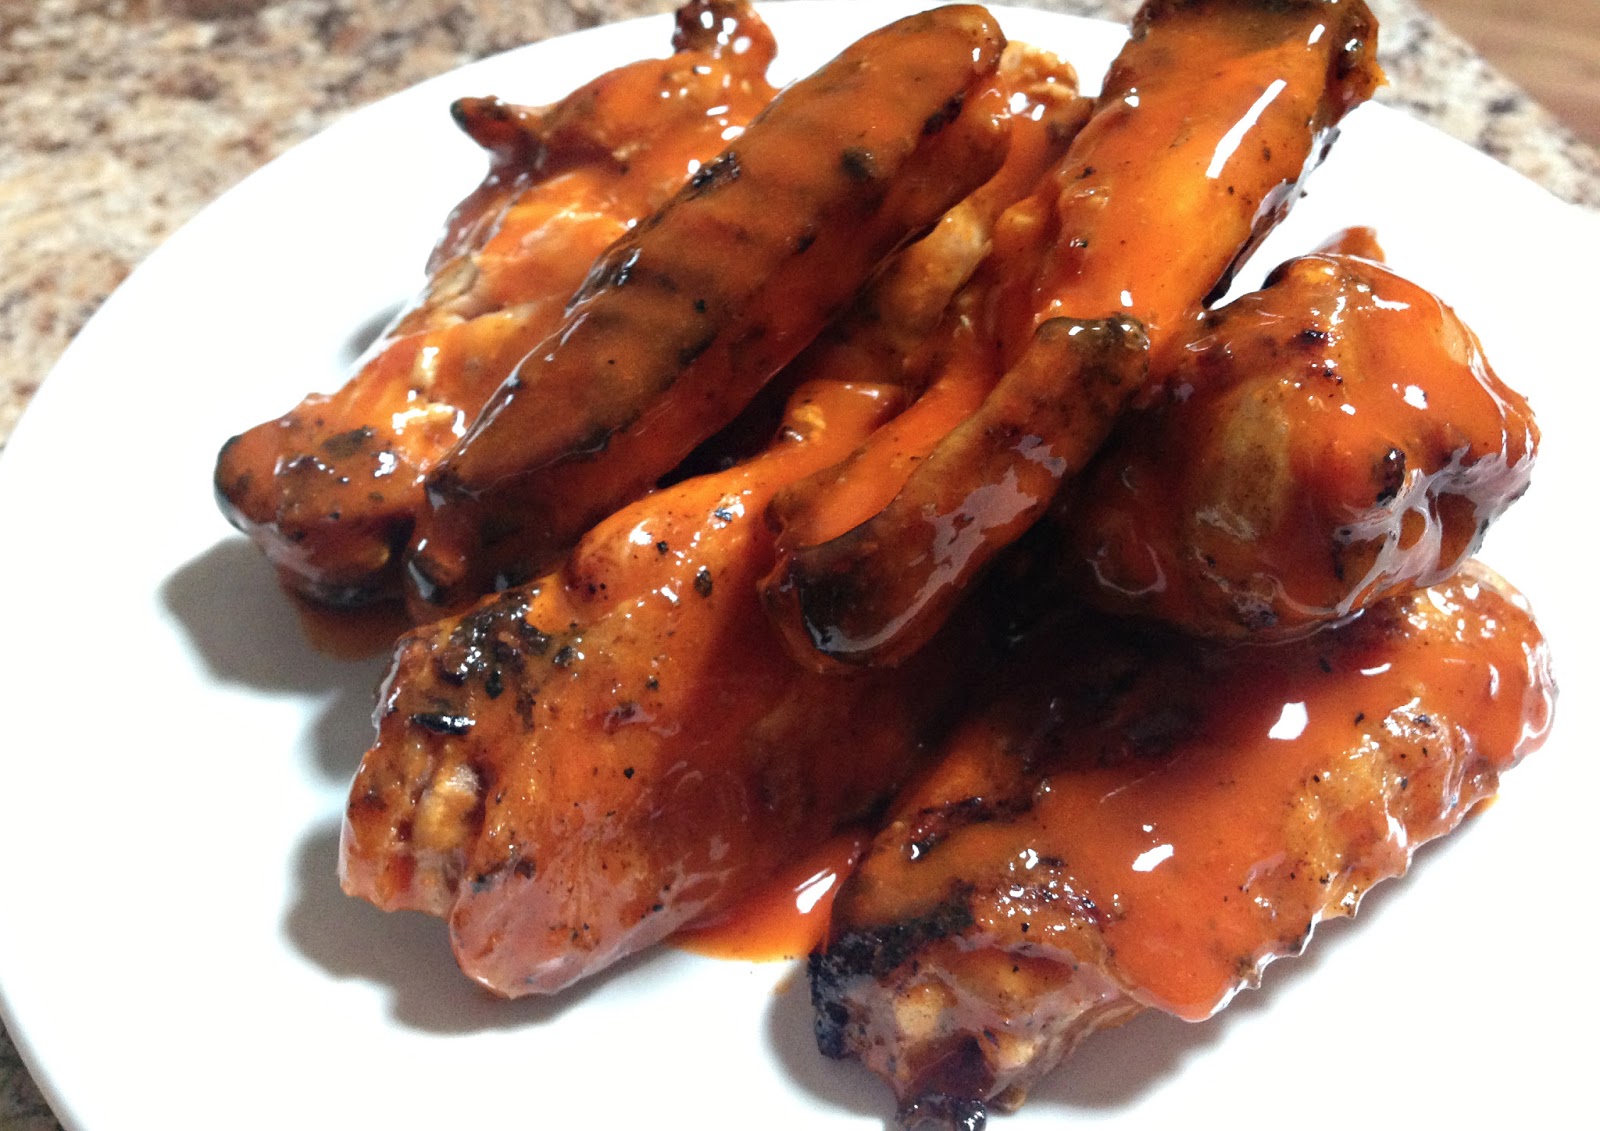
Place hot wings in a large bowl.  Cover with sauce and toss to coat.


Eat and enjoy!  Lick your fingers.  Lick the plate.


TIP: If you're making these for a dinner party, you can toss them in sauce and place them in the oven, in a single layer on a parchment covered baking sheet, at 300 degrees.  I wouldn't leave them too long or they'll dry out ... maybe 20 minutes at the most.

Thursday, January 31, 2013

Twice-Baked Broccoli Potatoes


Potatoes are usually considered a starchy side, but they can definitely stand on their own ... each spud = 6 grams of fibre + 6 grams of protein (skin included).  We love baked potatoes for dinner - and so does our budget.  This spin on baked potatoes adds even more fibre and amazing flavour with broccoli and aged white cheddar, twiced-baked to make it extra yummy!


Morgan fought Matt for the seconds ...  These were so good and so filling - I think I'll be making these for dinner more often. :)

INGREDIENTS
5 potatoes (I used white), scrubbed and rinsed
olive oil
sea salt
1/2 cup sour cream (Daisy is our favourite - and gluten-free!)
3/4 cup shredded aged cheddar (Kerrygold Dubliner and Ballyshannon are amazing!)
1 cup broccoli
1/4 cup milk
sea salt and fresh ground pepper to taste
green onion (optional)

Preheat oven to 375 degrees.


Dry off potatoes.  Poke all over with a fork and brush with olive oil.  Sprinkle with salt.  Rub salt and oil all over the potato until it's evenly coated.


Place potatoes on the top rack of your oven and a sheet of foil on the bottom rack.  Bake for 45 minutes, until a knife inserted through the middle of the potato comes out without picking the potato up.


In the meantime, chop broccoli and place in steamer bag ... this particular bag is made by Glad - so fast and easy! But if you don't have steamer bags, no problem - any steaming method works just fine.


When potatoes are finished baking, let them cool slightly until they are easy to handle.  Cut each down the middle and scoop out most the flesh, leaving a small border attached to the skin so it looks like a shell.  Mix the flesh with sour cream, milk, broccoli and 1/2 cup cheese.  Add salt and pepper to taste.


Spoon mixture into potato shells and top with the remaining cheese.  Place on a cookie sheet or baking stone and sprinkle with green onion.


Bake at 375 degrees for 25-30 minutes until cheese is melted and starts to brown.

Saturday, January 19, 2013

Easy Bean Dip


What a cold, grey, lazy Saturday here in Southwestern Ontario. Nothing better than a warm, cheesy and HEALTHY treat as we snuggle up by the fire to watch a little marathon tv (starting with season 1 of The Cosby Show). Life is good :) ... and so is this easy bean dip!!

Ingredients
olive oil
1 can lentils, drained and rinsed
1 can kidney beans, drained and rinsed

Seasoning
4 tsp dried minced onion
3 tsp chili powder
1 tsp cornstarch
1 tsp garlic powder
1 tsp ground cumin
1/2 tsp dried oregano
1/8 tsp cayenne pepper

1 cup taco sauce (Ortega is our favourite!)
1 (16oz) can refried beans (Refried Black Beans with Jalapeños from Trader Joe's are amazing!)
1 (4oz) can chopped green chilis
1 cup shredded cheddar, Monterrey Jack ... or, while not the healthiest, white American cheese

Preheat the oven to 400 degrees. In a small bowl combine seasoning ingredients.


Using a large skillet, heat a little olive oil. Add lentils and kidney beans. Stir until heated through.


Add seasonings and stir, allowing the seasonings to open and become fragrant - about 30 seconds.


Add taco sauce, refried beans and chilis. Smash and stir (a potato masher is quite handy for this).


Fill half a baking baking dish with the beans, top with cheese. Spread on another layer of beans and top with more cheese.


You really could eat it just like this. BUT ... if you wait until it's baked - MMMMM!!!  Even better!
I had a little bit of extra beans, so I made a mini dish for Matt's lunch Monday.


Bake for 10 minutes. Turn the oven off and the broiler on HI. Broil until the cheese is toasted and bubbly - about 3 minutes.


Unfortunately in the wintertime, the tomatoes aren't as good ... but I could definitely imagine chopped, garden fresh tomatoes all over the top with a squirt or two of lime juice. Mmmmm!!!  Serve with your favourite chips and enjoy! :)

Sunday, September 11, 2011

Jalapeño Popper Dip


Ahhh!  Football season again ... my favourite!  (Not really, but it's Matt's so I try and be supportive). Sunday is a day for kicking back, so we typically eat snacks after church (and all afternoon) instead of sitting down to a real meal (though we do that all the other days of the week).

We love Mexican food!!  And let me tell ya, this dip cannot be beat.  It came about, really, out of laziness.  I used to make jalapeno poppers a lot, but it's not exactly a quick and easy treat.  So, from the need for speed and cheesy heat was born my version of Jalapeño Popper Dip.

INGREDIENTS:
8 large jalapeños, halved and seeded
1 cup light real mayo
2 - 250g or 8oz pkg of light cream cheese
1 1/2 cups shredded cheddar
1 cup panko bread crumbs**
1/2 cup Parmesan cheese
1/4 cup non-hydrogenated margarine or butter, melted
olive oil

**to make this recipe gluten-free, substitute 1 cup of coarsely ground rice crackers


TIP:  Seeding the jalapeños can be a bit tricky.  If you have sensitive skin, wear gloves as the oil from the peppers can really burn.  My tool of choice is actually a grapefruit spoon.


 The serrated edges make it perfect for scraping out the seeds and veins, where most the heat is stored.


Toss the jalapeño halves in a little olive oil and place under a 500 degree broiler for around 5 minutes each side.


Watch them closely!!  You know they're done when the edges start to char.  Switch oven to Bake setting and turn down to 400 degrees.


Finely chop the jalapeños ... they actually form a bit of a paste.


Mix together mayo, cream cheese, cheddar cheese and jalapeños until well combined.  Spread into a small casserole dish.  Place in the oven while you prep the topping so the dip gets a head start.


Mix together bread crumbs, Parmesan and margarine until the mixture forms soft crumbs.  Pull the dip out of the oven and evenly coat the top with the crumb mixture.  Place back in the oven for 18 minutes.


You'll know it's done when the crumbs turn a beautiful, tasty golden brown.  It looked too good not to dig in right away, as you can tell.  Serve with your favourite tortilla chips - we like Tostitos Restaurant style.  MMMMMMM!!!


Even Morgan loves it!  (Warning: it may be too spicy for the average kid - ours is just used to it. ;) )


My laziness has certainly paid off this time (according to Matt) - just look at those happy faces. :) :) :)  If you'd like a little cheesy heat in your life, this dip is a MUST try!


MMMMMMMMM!!!!  El mejor sabor!