Friday, August 9, 2013

Vegan Blueberry Muffins


If you follow me on Facebook, you've probably noticed I've been baking a lot of gluten-free muffins lately :). So ... I thought I'd post all my favourites in one spot so they'd been easier to find.

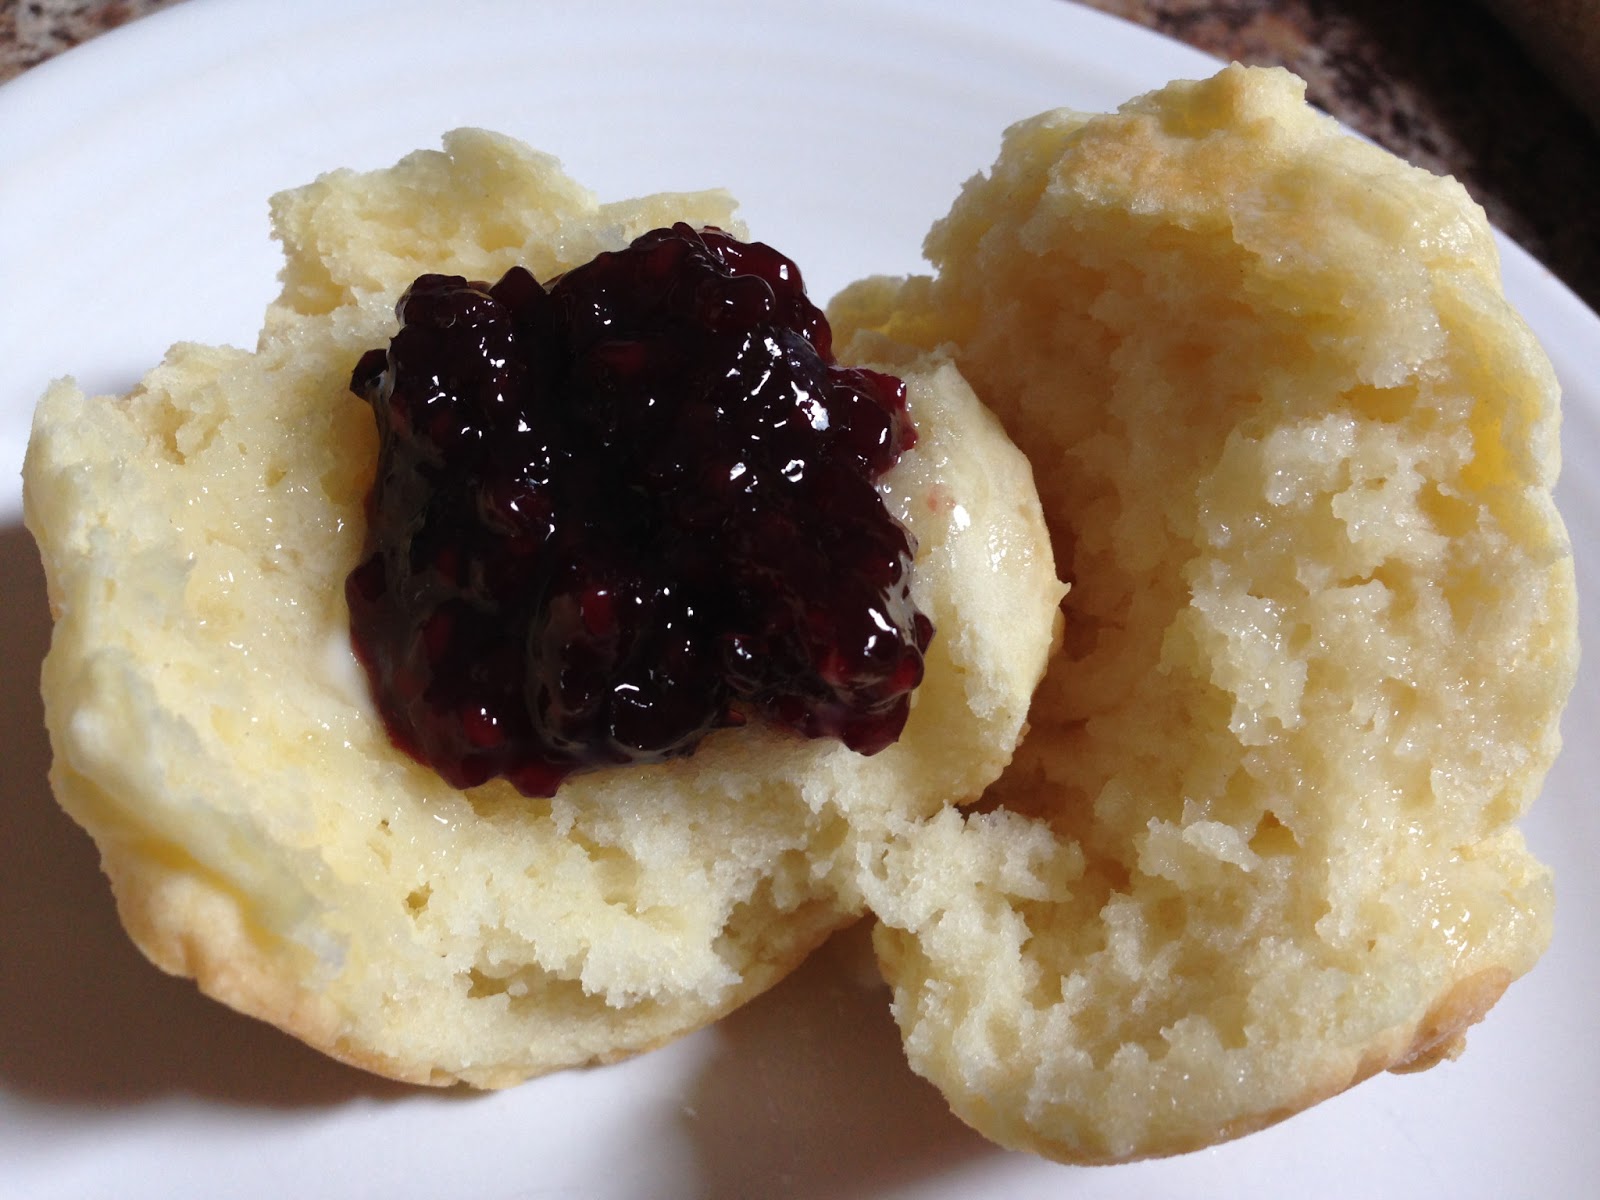
Here's pumpkin topped with a little Trader Joe's Creamed Honey ... 


and amazing banana ...

... but I have to introduce you to my new ABSOLUTE favourite of all - BLUEBERRY!


We are pretty lucky to live in a part of Ontario that's known for fresh produce.  This time of year we have the privilege of picking our own berries from a berry farm here on the banks of Lake Erie.  We go every year and stock up!  Raspberries, blueberries, strawberries, blackberries ... all picked then packaged neatly for the freezer!


If you have food allergies, muffins/cakes can be a little tricky.  They usually end up pretty dense, but this one is surprisingly different .. and it covers three major food allergy bases - no gluten, dairy or eggs!  I was skeptical.  How could a muffin be a muffin without ... eggs ... or milk?  But ... I promise, you will quickly fall in love with the light texture.

Another bonus :: any sweet berry will work!  SO good ... they disappear faster than I can make them!

I found the recipe here, then tweaked it just a bit according to my preference.

INGREDIENTS
Makes 12 muffins
  • 1 cup frozen blueberries
  • 1 3/4 cups King Arthur's Gluten-free Flour blend (I keep a big batch of this in my fridge at all times - it's the best flour substitute I've found for gluten-free baking by far!)
  • 1/2 teaspoon xanthan gum
  • 1 teaspoon baking powder
  • 1/2 teaspoon baking soda
  • 1/2 teaspoon salt
  • 1/2 cup coconut milk (I used Trader Joe's Vanilla Flavored Coconut Milk)
  • 1/2 cup water
  • 1 tablespoon apple cider vinegar
  • 1/2 cup organic sugar or evaporated cane juice
  • 1/4 cup coconut oil, melted
  • 3 tablespoons pure maple syrup
  • 2 teaspoons pure vanilla extract

Preheat oven to 350 degrees. Spray muffin tin with non-stick cooking spray. 

Stir together flour blend, xanthan gum, baking powder, baking soda, and salt. Set aside. 

In large mixing bowl or stand mixer, combine coconut milk, water and apple cider vinegar. Allow to sit for a 5 minutes. Stir in the sugar, coconut oil, pure maple syrup, and vanilla extract. 

While mixing, slowly add the flour mixture until just combined. Gently fold in the frozen blueberries. 


Scoop batter into prepared muffin tin. Bake for 19-24 minutes or until golden brown.  


Remove from pan and allow to cool (if you can keep from eating them).  They don't need anything ... but, if you want an extra little touch of sweetness, Trader Joe's Creamed Honey will blow your mind!


Store in air-tight container in the refrigerator.  They also freeze great!

Thursday, July 25, 2013

Cream of Mushroom Soup


One of the most convenient cans in the kitchen is "cream of" soup.  It adds so much flavour to so many dishes and casseroles.  You don't really realize how much you use it until you can't ... because it has wheat (and MSG ... but we won't even go there - I could go on forever about the chemical carcinogen "cream of" cans they try to sell us as soup, but I'll save that conversation for another day :) ).  Have you ever tasted the canned "cream of" condensed soups?  Salty ... with the consistency of snot.  Sorry ... that was gross, but ... true.

I did happen upon a gluten-free substitute that was pretty good made by Progresso, but it wasn't condensed and didn't give the same thick and creamy consistency.  So ... out of a yearning for Mr. Dell's Potato Casserole (sub Kettle potato chips for the corn flakes) and the Pioneer Woman's Chicken Spaghetti made with rice pasta,  I was determined to come up with an easy gluten-free recipe ... and my friends, I have it!

I can't believe how good this soup really is!  We were fighting over who got to lick the spoon!  It was PERFECT, not to mention, it stores really well in the fridge or freezer (bonus!) ... and came together in around 20 minutes (double bonus!).

It could be made with celery too (for cream of celery) ... same ingredients, just sub celery for mushrooms.  You might have to add a little extra broth before you add the flour ... but it should be an easy substitute.

I'll be posting my cream of chicken in a few days.  I hope that, again, you are encouraged by what you see.  Just because you've been diagnosed with a food allergy/intolerance or have decided to eliminate gluten for better health, doesn't mean you have to be deprived of the things you love. You just have to think a little outside the box ... or the can. :)

1 recipe = 4 cans of condensed cream of mushroom soup

1/4 cup butter
around 6 cups chopped mushrooms - any kind
3/4 cup brown rice flour (you can use wheat flour if you don't have gluten issues)
2 cups warm water
2 cups half and half
1 organic vegetable bouillon cube (I use GoBio)
1 teaspoon sea salt
1 teaspoon fresh ground pepper


Roughly chop mushrooms.


On medium heat, melt butter in a large wok or dutch oven.


Add mushrooms and cook down until they start to release all their moisture - around 5 minutes.  It's crazy how much they shrink!


Sprinkle flour all over the top and stir.  It will get REALLY thick.  Cook for a couple minutes, stirring constantly so the flour gets a little browned and doesn't taste raw.


Mix bouillon cube into the water and slowly stir into the mushroom "paste".  Stir in cream.


Bring just to a boil, stirring regularly.  Remove from heat.


Cool to room temperature and pack in jars to store in the fridge (if you're using in the next couple days) or package in ziploc freezer bags for the freezer.  See how thick it gets!!  Now give it a little taste ... wow!  SO GOOD and SO MUCH better for you! :) YAY!

Saturday, June 1, 2013

All-Purpose Gluten-free Baking Mix


I've discovered the most wonderful gluten-free thing EVER - Bisquick!  Well, not really the name brand ... but a homemade version that will totally knock your socks off!

My parents have been visiting from Kansas City for the last little while and my mom brought a couple packages of the gluten-free Bisquick for us to try.  IT WAS SO GOOD!!  We made pancakes and shortcakes and pie crust and pizza ... but my joy and excitement was short-lived when I learned the product was not available in Canada.  WHAT??!!

I scoured Pintrest for an alternative and guess what?!  I found one!  AND IT'S EVEN BETTER than Bisquick.  We tried it ... we tested it - pancake for pancake, shortcake for shortcake ... and the winner EVERY time was the homemade mix.  It was so much fluffier the the Bisquick, surprisingly.  I was able to find everything I needed at Bulk Barn here for a fraction of the cost of the name brand.

On top of it being extremely versatile and so stinkin' delicious, this mix has another thing going for it - no preservatives or modified, processed ingredients.  That's HUGE!  I can actually have a say in the quality of ingredients I make it with - love it!  Every recipe I've tried, I've made with Trader Joe's Unsweetened Vanilla Almond Milk ... yes, my friends, that means many of the recipes can be made dairy-free and soy-free as well!  I even converted my dad to the almond milk ... and for those of you who know him, pigs must be flying ...

INGREDIENTS
1 1/2 cups rice flour - brown or white (I prefer brown)
1 1/2 cups potato starch
3 tablespoons evaporated cane juice or sugar (I haven't tried xylitol, but maybe?)
1 tablespoons + 2 teaspoons gluten free baking powder
1 1/2 teaspoons xanthan gum
2 teaspoons fine sea salt

In a large bowl, whisk together all ingredients; sift the mixture four times.
Double, triple, quadruple the recipe so you can have it on-hand, store in an air-tight container and use as a substitute for any recipe calling for gluten-free Bisquick.  My mom even uses it in place of flour, depending on the recipe ... like in her Crustless Coconut Custard Pie ... but that's a post for another day. :)

Need recipe ideas for the baking mix?  Not a problem!  Betty Crocker has a huge recipe portal that include a variety of options calling for gluten-free Bisquick. Check it out and become a member - it's free!  There really are a million ways to use this mix.  Here are a few of my favourites ...

Cornbread
Strawberry Shortcakes
Pancakes and Waffles (made with melted butter instead of oil)
Ultimate Chicken Fingers
Cheeseburger Pie
Easy Taco Pie
Chocolate Chip Scones
Snickerdoodles (made with all butter)
Cheesecake

Biscuits
2 cups gluten-free baking mix
1/3 cup butter (or Earth Balance)
2/3 cup milk (or almond milk)
3 eggs

Heat oven to 400 degrees.
Cut butter into flour using a pastry cutter or fork until ingredients look grainy ... like extra course corn meal.  Mix in the remaining ingredients until a soft dough forms.


Drop by the spoonful onto a greased baking sheet.  I honestly prefer a greased muffin tin, as the biscuits don't spread so much.


Bake 13-16 minutes, or until golden.


Makes 10 biscuits.  If you want a dinner biscuit, add in some cheese and roasted garlic!

Just check out the texture ...


There are so many ideas and ways to use this mix ... so get creative!  But of course, you must first make the biscuit recipe and enjoy a delicious, fluffy, buttery treat - something I thought I would never be able to do again (and yes ... that is homemade Ontario blackberry jam on top - heaven!).

Thursday, April 18, 2013

Crispy Chicken Wings


Crispy, tangy, saucy chicken wings are a classic.  One problem - they pack a huge calorie punch.  Traditionally, wings are deep-fried, rolled in butter, then slathered in sauce ... but you can get just as much flavour by ditching the deep fryer and using your BBQ!

This idea is not my own.  Our good friend, Jeff, showed us this trick a couple years ago and we have never looked back.  The wings are every bit as crispy, and even though they are still high in calories, by using the BBQ you can slash the calories in half.  That's huge!!

INGREDIENTS
chicken wings (any amount)
salt and pepper to taste
oil for the BBQ
Frank's Red Hot Buffalo Wing Sauce (the best ... and gluten-free!)

Salt and pepper chicken wings.  Let sit for at least an hour.


Clean BBQ with a scraper.  Using a folded paper towel, oil the grates.


Preheat the BBQ then add the chicken wings, skin side down.


DO NOT LEAVE YOUR BBQ!  Because the chicken wings are higher in fat, they need turned more often and left unattended could cause a flare up ... so be careful.


BBQ until cooked through.  This usually takes about 20-30 minutes ... sometimes longer depending on the size of your wings.


Place hot wings in a large bowl.  Cover with sauce and toss to coat.


Eat and enjoy!  Lick your fingers.  Lick the plate.


TIP: If you're making these for a dinner party, you can toss them in sauce and place them in the oven, in a single layer on a parchment covered baking sheet, at 300 degrees.  I wouldn't leave them too long or they'll dry out ... maybe 20 minutes at the most.

Wednesday, April 17, 2013

Ultimate Chocolate Chip Cookies


... and guess what, they're gluten-free!! Chewy, gooey and full of protein and fibre!  Not to mention, they are free from refined sugar (except a little in the chocolate chips and marshmallows, if you add them).


Of course these are kid-tested ... Morgan loves them with vanilla soy milk or almond milk as an after school snack. But for those kids (and husbands) with gluten allergies, it can be hard to find yummy treats that compare with the real deal. This one, my friends, totally does.

INGREDIENTS
1 stick (1/2 cup) of butter, softened
1/2 cup xylitol * or evaporated cane juice
1/2 cup maple syrup
1 egg
1 1/2 teaspoons vanilla
3/4 cup almond flour **
3/4 cup brown rice flour
1 tsp baking soda
1/2 teaspoon salt
2 cups brown Rice Krispies cereal (gluten-free)
1 1/2 cup Toll House semi-sweet chocolate chips
(optional) 1 cup mini marshmallows

* If baking with xylitol, you might need to increase the baking time by a minute or two.


** almond flour can be pricy. I use my Vitamix to grind raw almonds into flour. Any high-powered blender will work. If you want to get more out of your almonds, check out this tutorial on how to make almond milk. It's so easy and the pulp turns into the best almond flour - talk about bang for your buck!

Preheat oven to 350 degrees.


Cream together butter, evaporated cane juice and maple syrup.  Mix in egg and vanilla.


Add dry ingredients: almond meal, brown rice flour, baking soda, salt and cereal. Mix until the cookie dough comes together.


Add in chocolate chips and slowly mix until incorporated.


Portion with a cookie scoop onto a greased baking stone or a parchment covered baking tray.  Bake 11-13 minutes until the cookies turn a golden brown.

If you have trouble with your cookies spreading too flat, see my tip here.


Pour yourself a big glass of milk or a hot cup of tea and enjoy one of these bad boys!  Who said gluten-free was boring?!

Cheesy Cauli-Garlic Spaghetti


Years ago, my parents had these wonderful friends, a missionary couple, from Italy. This recipe is straight from their kitchen - as authentic as it gets. I remember the first time she made it for us ... I hate cauliflower and I was so nervous to try it. To my surprise, this has become one of my favourite pasta dishes of all time. It's very simple, but so satisfying!! Bonus :: It's a sneaky way to bulk up pasta with veg ... your kiddos won't even know!

INGREDIENTS
2 tablespoons olive oil
5 cloves of garlic, minced
1 head of cauliflower, cut into chunks
1 cup fresh grated Pecorino Romano or Parmesan cheese
Salt and pepper, to taste
1lb package of spaghetti (since we're a gluten-free house, I used Trader Joes Corn Spaghetti)


Boil around a cup of water and place a steam basket inside a saucepan. Add cauliflower, cover and steam until tender.


Smash with a fork.


Meanwhile, cook pasta according to package directions. Drain.


In a small skillet, heat olive oil and sauté garlic until tender, but not brown. Smash with fork.


Add cauliflower into the pot the pasta was cooked in. Stir in cheese, oil and garlic. Toss in pasta until well coated. Season with salt and pepper to taste.


Serve with a big salad and call it dinner!


We were so glad Matt's mom was able to join us for the evening since his dad was out of town. Good food, good fun ... great time visiting.

"Dining is and always was a great artistic opportunity." - Frank Lloyd-Wright